
Get our tips for applying photo makeup like a pro to look flawless for the camera. Get ready for your close up with these photoshoot makeup secrets.
Base Layer & Blending
The texture of your skin and shine is really amplified in photos.
Throughout these steps, keep one word in mind: BLEND! Blending is the key to amazing photo makeup to reduce texture, visible lines and have all layers working seamlessly together.
Using the right makeup brushes is a must for pro blending - we’ve offered a few tips on the kind to use below.
Prep skin with a primer
Cleanse your skin and apply your usual skincare products. Then use a primer or BB cream to create a smooth, even base to apply makeup.
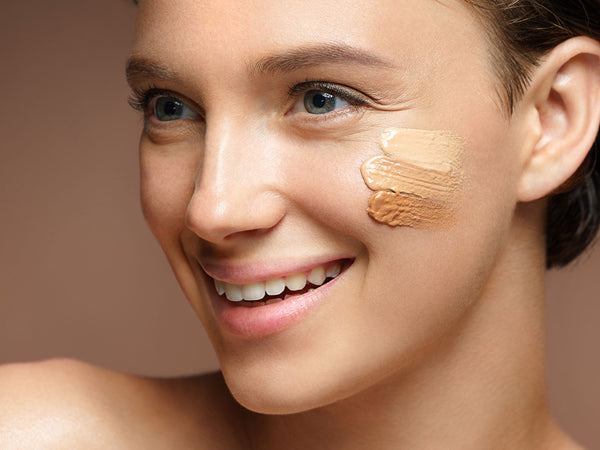
Foundation
Choose a medium to full coverage mattifying foundation to reduce shine and give your skin smooth, even coverage.
Use a round-tipped foundation brush to allow you to buff the product into your skin in circular motions for a completely blended finish. It’s more of a challenge to achieve a seamless application with a sponge or your fingers.
Pro tip: Don’t use a foundation formulated mineral SPF as titanium dioxide and zinc oxide can cause a white cast in photos.
Concealer
Still a few problem areas that stand out after applying foundation? You can touch them up with concealer. Apply a little concealer to any under eye shadows, laugh lines, around your nostrils as well as any blemishes.
Use a fluffier brush to apply concealer to get that airbrushed, blurred finish. Makeup can make fine lines and wrinkles more pronounced - especially in photos. Using a fluffier brush will smooth the application for a more youthful look.
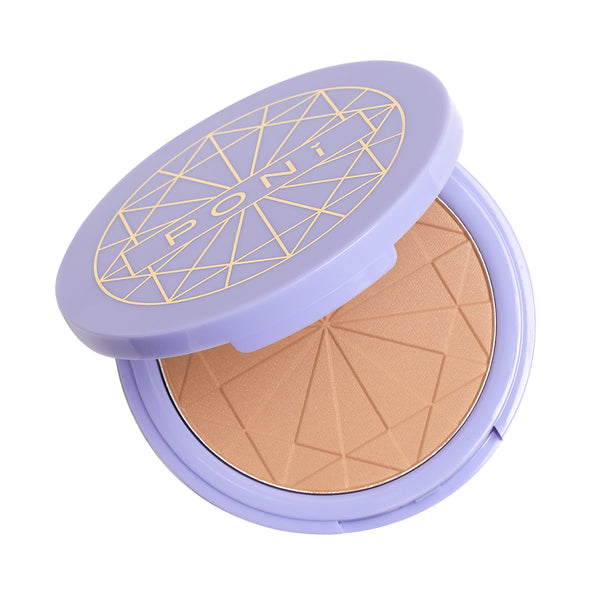
Translucent Powder
Your powder goal is to set your photographic makeup for long-lasting wear and remove shine without looking cake-y.
A lightweight, fine powder can create a luminous finish without causing flashback (which leaves your skin appearing white or grey with flash photography) or excessive dryness. Look for powders without a high content of mica or silica as these ingredients emphasise flashback.
Choose a powder brush with soft, fluffy bristles to sweep powder evenly across your face. Apply to your chin, the centre of your nose and the centre of your forehead.
Highlight & Contouring
It’s super disappointing when your makeup efforts look washed out and flat in photos because of the camera flash. Highlighting and contouring with the right products is the key to avoiding this.
Bronzer, blush and highlighter help contour and sculpt your features to add definition and highlight your favourite features.
Bronzer
While there is a difference between bronzer and contour products, you can use bronzer for subtle contouring. Use a large fluffy brush to apply.
Apply bronzer to the areas where the sun naturally hits your skin; cheeks, hairline, and temple.
To add a little more definition, bronzer can be applied along your jaw bone too.
Cheeks: Focus on the apples of your cheeks and blend along your cheekbones.
Hairline and temples: Apply bronzer across your natural hairline by lightly moving the brush in small circular motions, from one temple to the other.
Jawline: To add definition to your jaw sweep bronzer along your jawline running from underneath your chin and finishing just before reaching your ear.
Blush
Your skin will look healthy and bright in photos with the right blush application. Here’s a quick rundown of how to apply blush based on your face shape:
Oval: In short upward swipes, apply to the apples of your cheeks.
Round: Apply along the cheekbone for a natural contour.
Heart-shaped: Just under the apples of your cheeks.
Square: Centre the blush on the apples of your cheeks.
Highlighter
Look for a highlighter free from glitter and sparkles. You want to bring light to the area without a high glitter shimmer which can give you an unflattering shiny visage in photos.
Load a fan-shaped brush with a powder highlighter, tap off the excess, then dust the highlighter across the top of your cheekbones, bridge of your nose and Cupid’s Bow.
Use your middle finger to press a little highlighter into the corners of your eye for a wide-awake look.
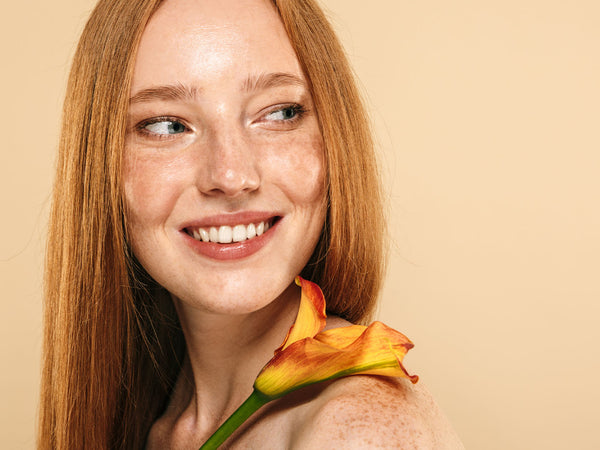
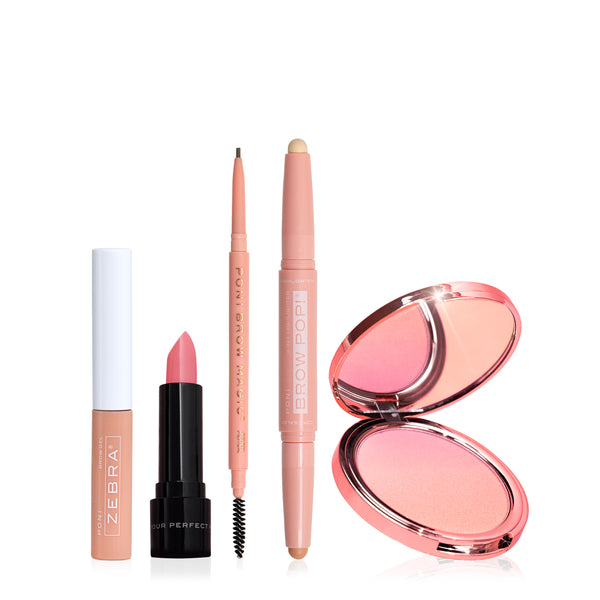
Brow Power
Think of your brows as a beautiful frame that adds crucial structure to your face.
Light brows tend to disappear in a full face of makeup but a healthy-looking full brow adds definition. However, you don’t want to be so heavy-handed with the application they end up blocky and drawn on.
Camera-ready brows
So, how do you create a brow strong enough to hold its own in photos while still looking natural?
First, discover the best brows to suit your face shape then follow the tips below to fill them in.
Pick the colour
Have dark hair? Choose a brow colour a shade or two lighter than your natural hair. If you have light hair, you want to deepen the brow for more definition so go for half to one shade darker than your natural colour.
Brush your brows
Before filling in your brows, brush them upwards with a spoolie or brow brush. When you’ve filled them in, brush hair up again to soften any harsh lines.
Choose your tools
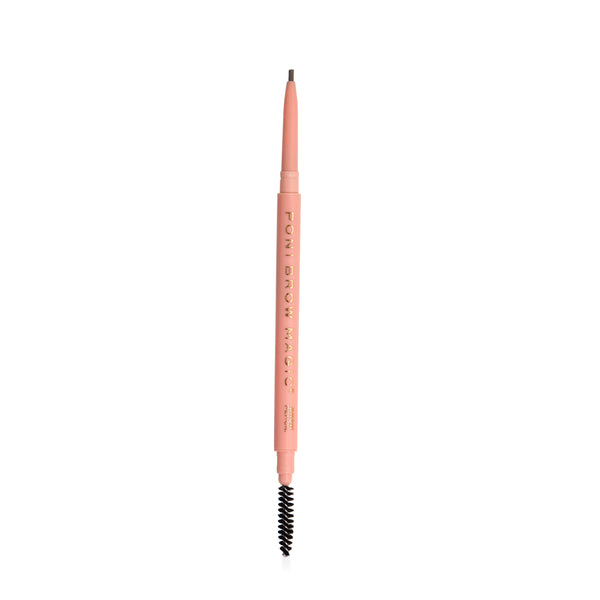
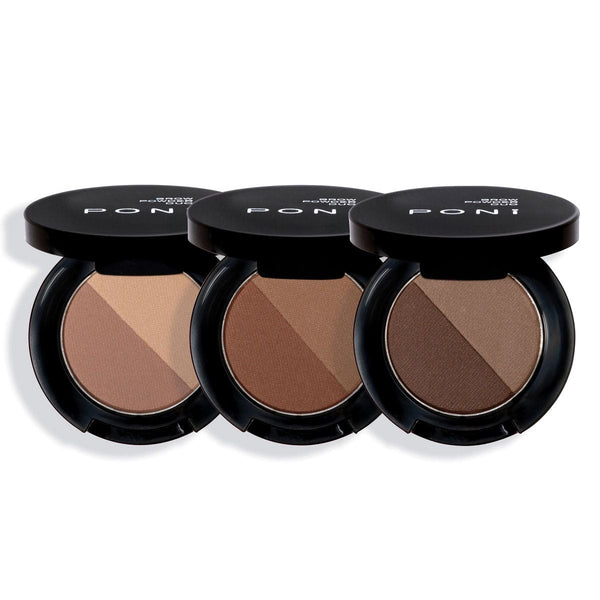
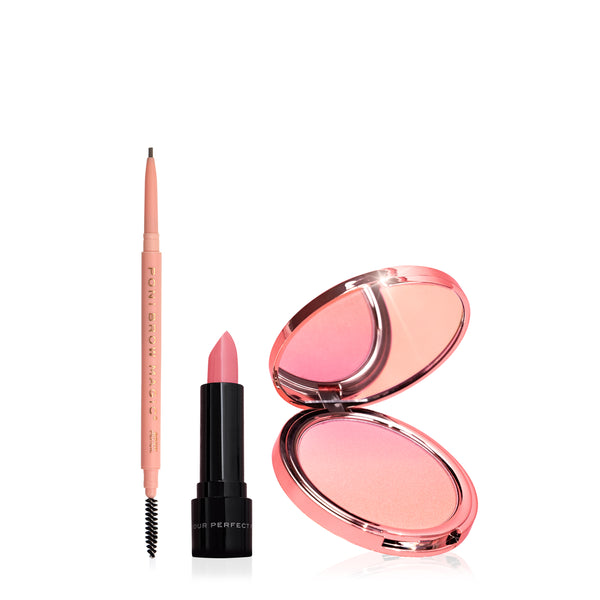
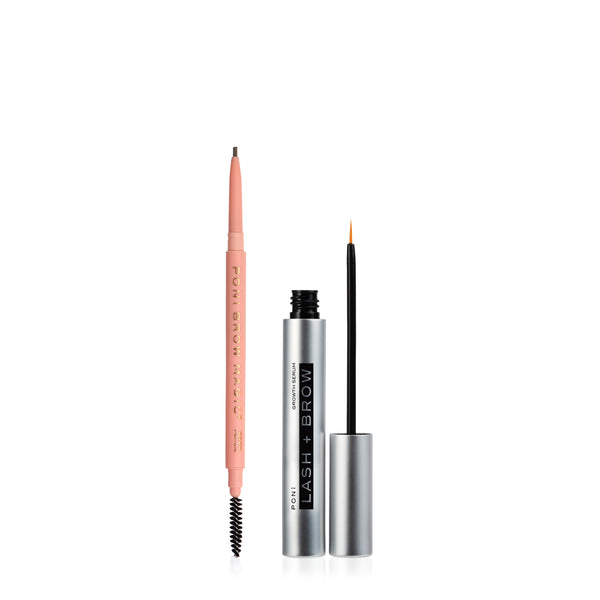
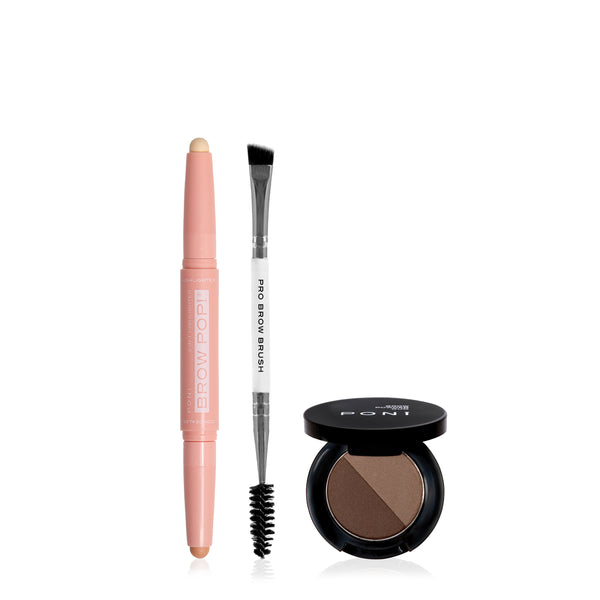
Brow pencil plus powder
Teaming eyebrow pencil and brow powder is a great camera-ready duo. Together they add more definition and depth than using either on their own.
Add natural hair strokes with the pencil then use the powder to fill in any gaps and create a natural fluffy look. If you have oily skin, powder helps prevent a shiny look in photos.
We love: Brow Duo Powder and Brow Love Soft Brow Pencil
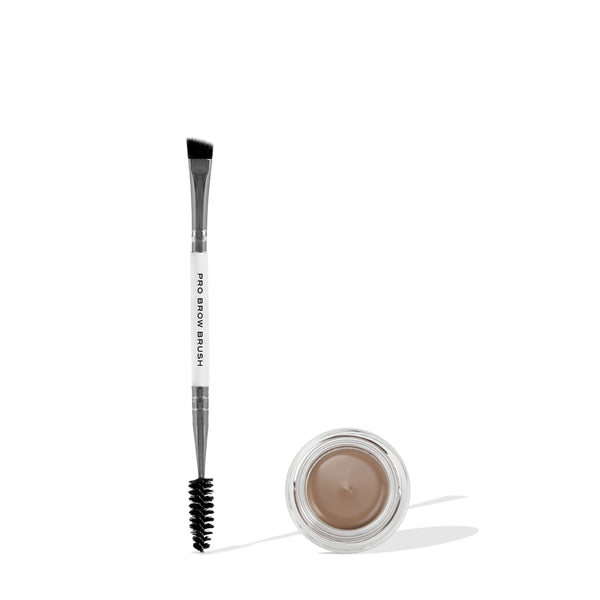
Brow creme
Creme has a strong pigment payoff which works well for photos. The trick here is not to go overboard with the application, less is definitely better.
Using a small, angled, densely packed brow brush is perfect for creating realistic hairline strokes, detailing, and outlining arches. Choosing a waterproof creme will stand up against sweating and smudging to keep brows shine-free and camera-ready.
We love: Mane Stain Brow Creme
Define Your Eyes
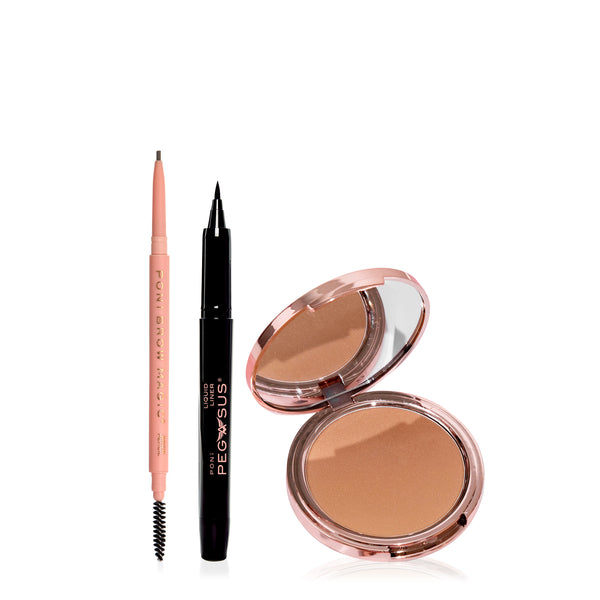
Sleek, winged eyeliner and smokey eyes are gorgeous makeup for photos. Liquid liner helps define the eyes and you can keep the look subtle or more dramatic. A wing is especially helpful if you have smaller eyes to make them look bigger in photos.
We’ve prepared this little cheat sheet for applying liquid eyeliner, complete with tips to nail the perfect wing every time.
For a smokey eye, we love this camera-ready look from Mia Conner. As Mia points out, the advantage of smokey eyes for photo makeup is that they’ll stand out and be more visible.
Define your eyes with PONi Pegasus Liquid Liner.
Luscious Lips
The best makeup for photos isn’t complete without a darker lip. In photos, more saturated lips add balance to the face. Choosing a lip shade that is darker and more pigmented than your natural lips will help to define them in photos.
Lip liner
Select a lip liner that complements the lipstick you’ve chosen and trace your natural lip line around your lips. Choose either your Cupid’s bow or bottom lip to slightly overdraw your lips to emphasise your mouth in a natural way.
Lipstick
Start putting on lipstick at the centre of your lips, applying directly from the tube, and saturate the area. Then swipe the lipstick from the centre out to the corner of your upper lips and repeat on the bottom lip. Use your middle finger to gently blend out any harsh lines.
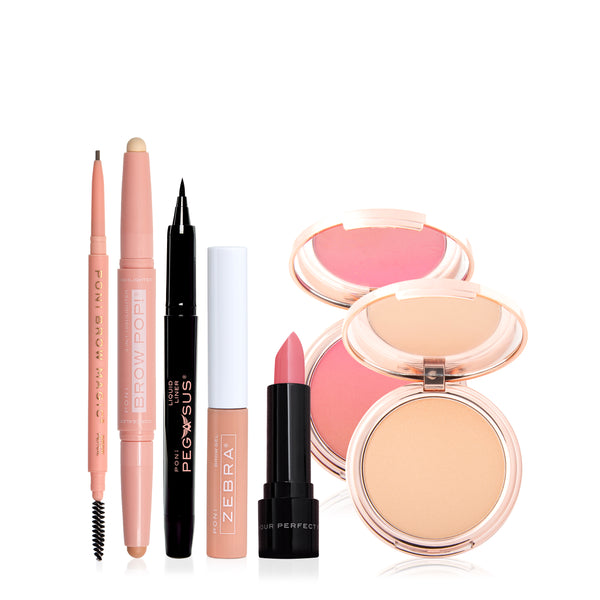
Shop the range of photographic makeup from PONi for a flawless camera-ready look.
You might also like to read: